
In today’s digital age, a professional invoice bill is essential for every business. Whether you are a shop owner, freelancer, or service provider, Microsoft Excel is one of the easiest and most cost-effective tools to create invoices.
This guide will show you:
What an invoice bill isHow to design an invoice in Excel
How to use formulas for automatic calculations
How to save or export your invoice as a PDF
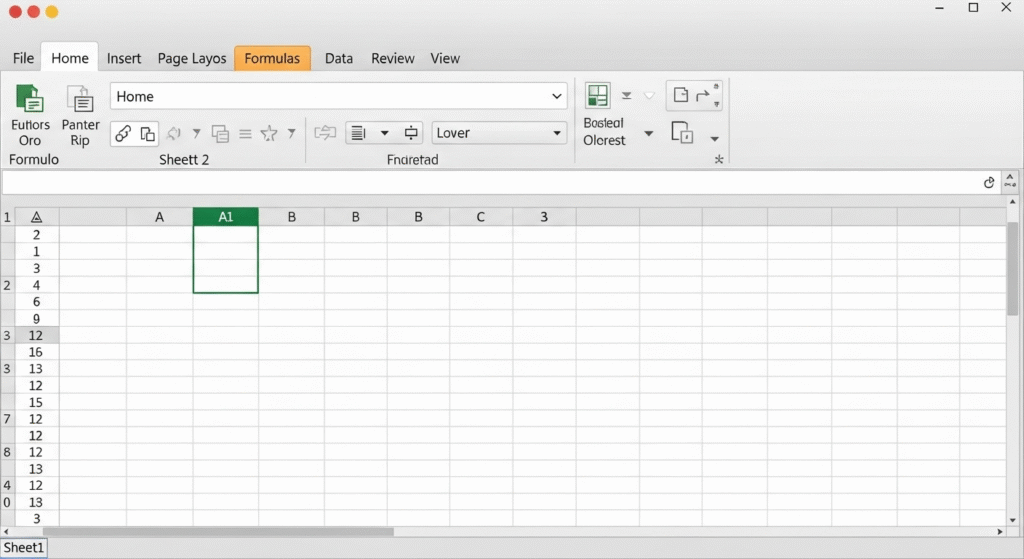
Step 1: Open Microsoft Excel
Open Microsoft Excel and select a Blank Workbook to start creating your invoice.
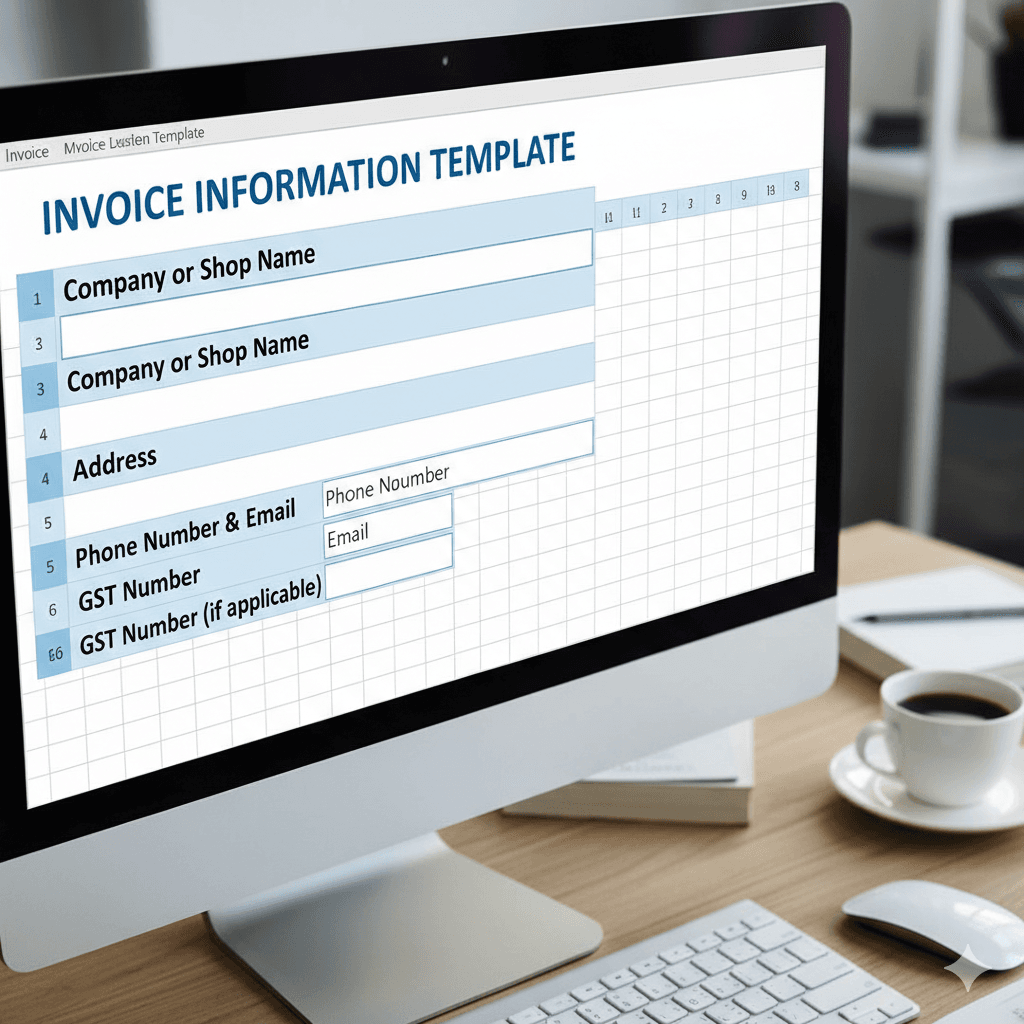
Step 2: Add Your Business Details :
At the top of the sheet, enter your business information
- Company or Shop Name
- Address
- Phone Number & Email
- GST Number (if applicable)
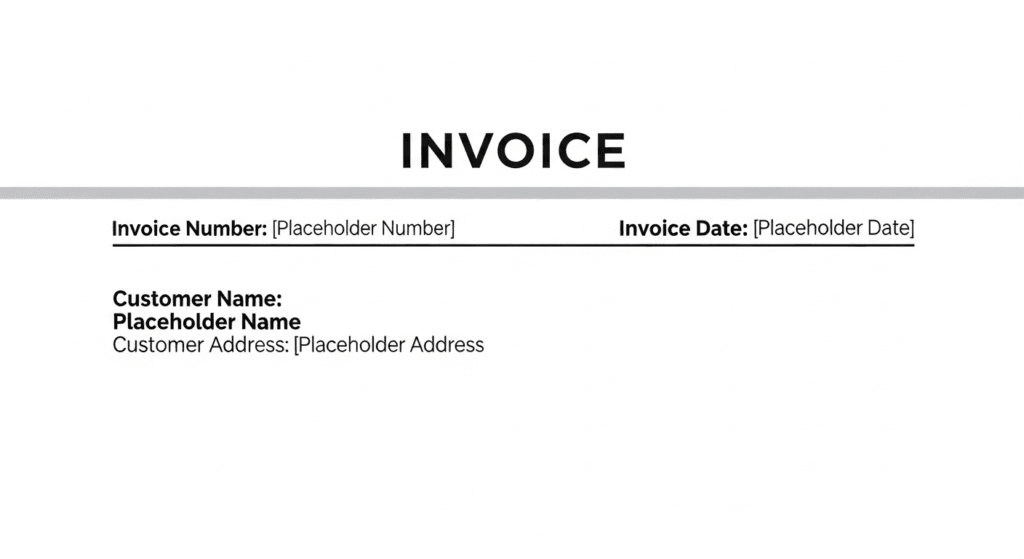
Step 3: Create the Invoice Header :
Insert an Invoice Title (e.g., “TAX INVOICE” or “INVOICE”). On the right side, add:
- Invoice Number
- Invoice Date
- Customer Name & Address
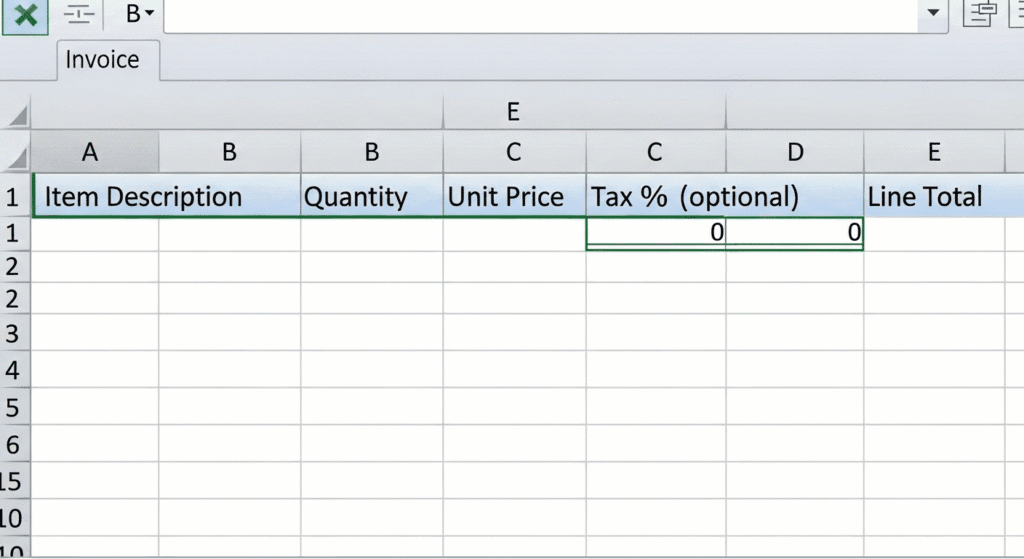
Step 4: Build the Item Table :
Below the header, create a table with the following columns:
- Item Description
- Quantity
- Unit Price
- Tax % (optional)
- Line Total
Step 5: Apply Formulas for Calculations
To calculate the Line Total, use this formula:
=Quantity * Unit Price
For the Grand Total, use:
=SUM(E5:E15)
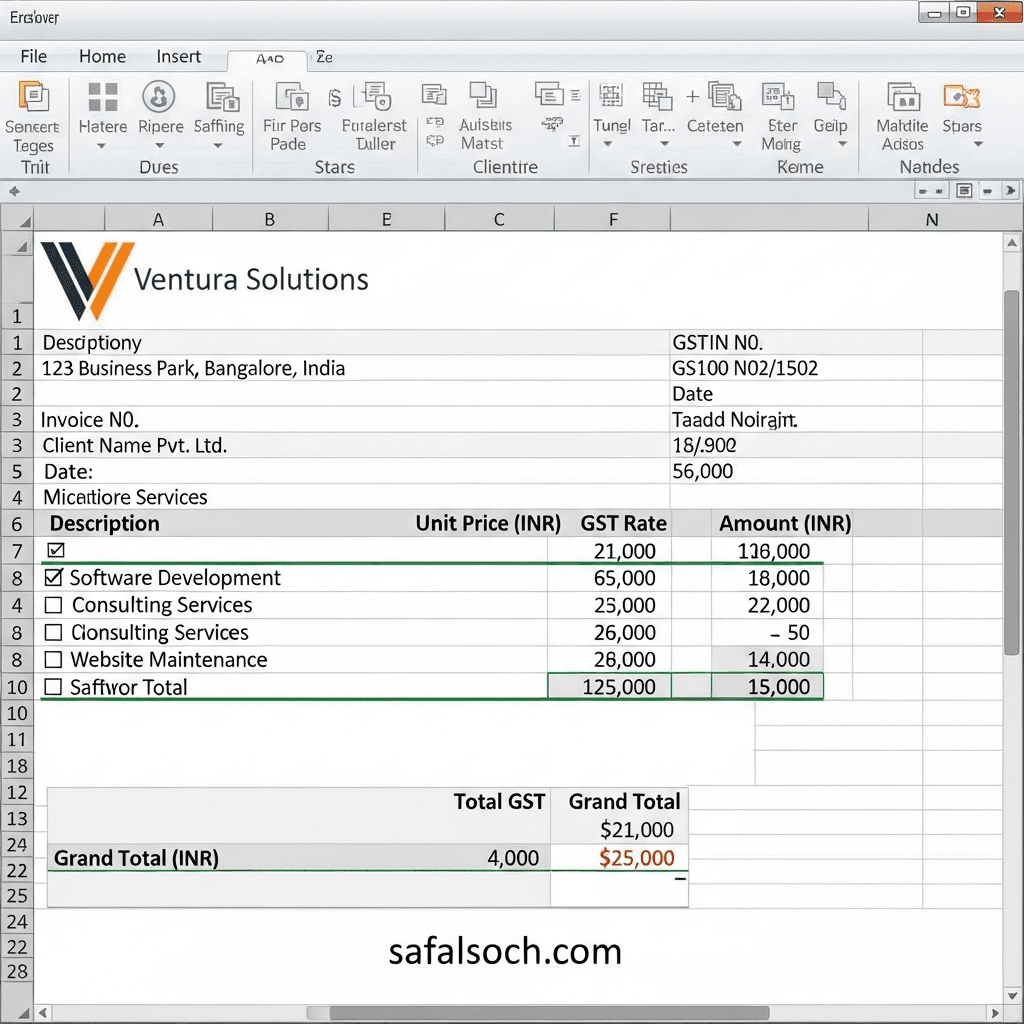
Step 6: Format Your Invoice
- Apply bold fonts for headings
- Add borders around your table
- Insert your company logo (Insert → Pictures)
Step 8: Save or Export as PDF
Once your invoice is ready, you can save it as a PDF
:Go to File → Save As → PDF
° Share it with your customer by email or WhatsApp


Pingback: Freelancer.com Guide 2025: How to Earn Money Online